3.05.2012

Fabric Wall Art ~ A Free Tutorial


Fabric wall art is a fun and pretty inexpensive way to add a touch of color to any room.
Click below for complete tutorial>>
Materials needed:
76" of 1"x1" wood
1/2 yard fabric, for each frame


Begin by building your frame.
Cut two pieces 22" and two pieces 16"
You will nail the four pieces together in a square as shown in the image above, the 16" pieces on the ends and the 22" pieces on the sides.


Lay the frame on top of the fabric making sure that the fabric is about 2" larger than the frame on all four sides.


Fold the fabric over the end and use a staple gun to staple down.


Pull the second end tight and staple down the second end. I like to staple the short ends first.


Fold the corner down on an angle, as shown in the image above.


Then fold the flat edge up over the corner of the frame creating a nice clean corner. Repeat on all four corners.


Staple down all sides. Back should look like the image above.


The front!


Hang on your wall and enjoy!


All fabric shown in these images is A Stitch In Color for Moda Fabrics, available for purchase here.

If you make some we'd love to have you share them in our flickr group.

Coordinating  tutorials are available;
Bumper Pads
Dust Ruffle
Wonky Baby Quilt
Toy Blocks

{Connect with us}
youtubei pinterest

3 comments:

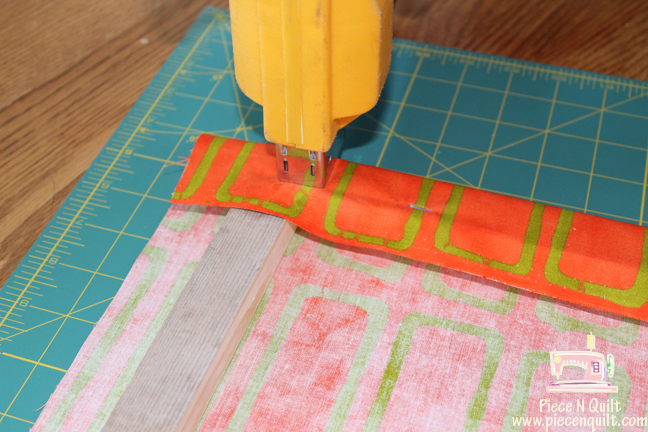
  1. I bought the wood like this, pre-cut with notches from IKEA over a year ago and just put it together last week with some fun flowery fabric. It turned out so cute and was SO easy (just haven't gotten around to posting pics yet). I love how you did yours with three different fabrics! Such a quick easy way to decorate :)
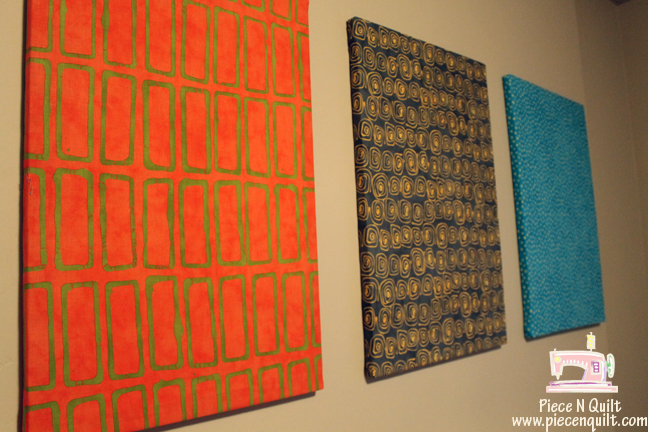
    ReplyDelete
  2. VERY clever! They make a lovely splash of colour on the wall!

    ReplyDelete
  3. Wow what a simple, yet very effective idea! Cheaper than buying a proper canvas painting and to know you made it yourself..even better =D

    ReplyDelete

Thanks for visiting our blog! We love to hear your comments!